How to attach spa cover locks - a step-by-step guide

Most quality spa covers come with locks that attach to your spa and keep it secure. These locks are an essential safety element. In this article, we explain how to install spa cover locks.

Attaching a spa cover lock hero

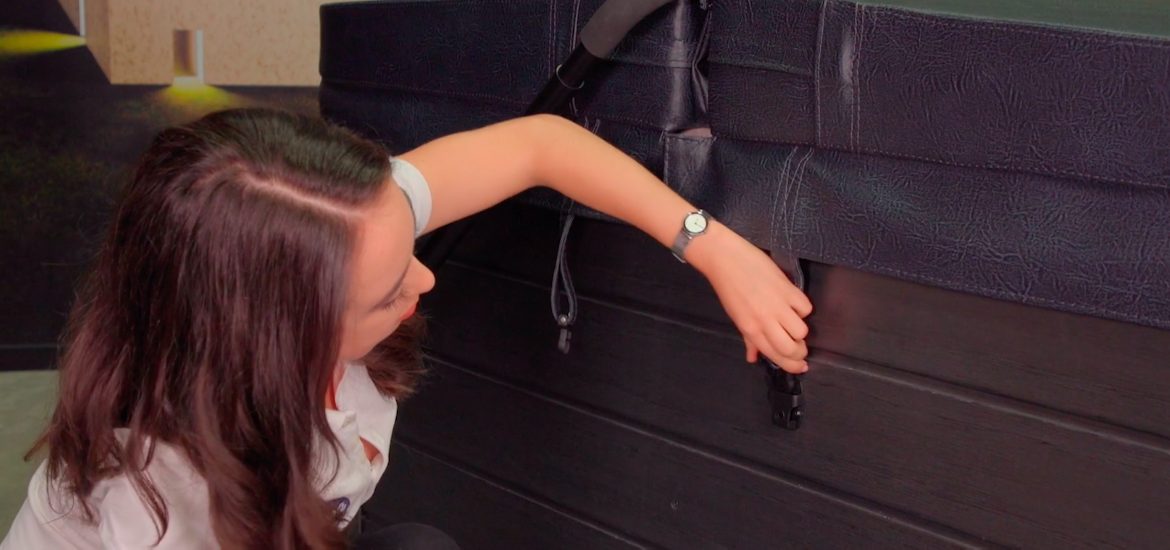
One of the first and most important steps you need to take as a new spa owner is to install locks for your spa cover.

This step-by-step guide outlines:
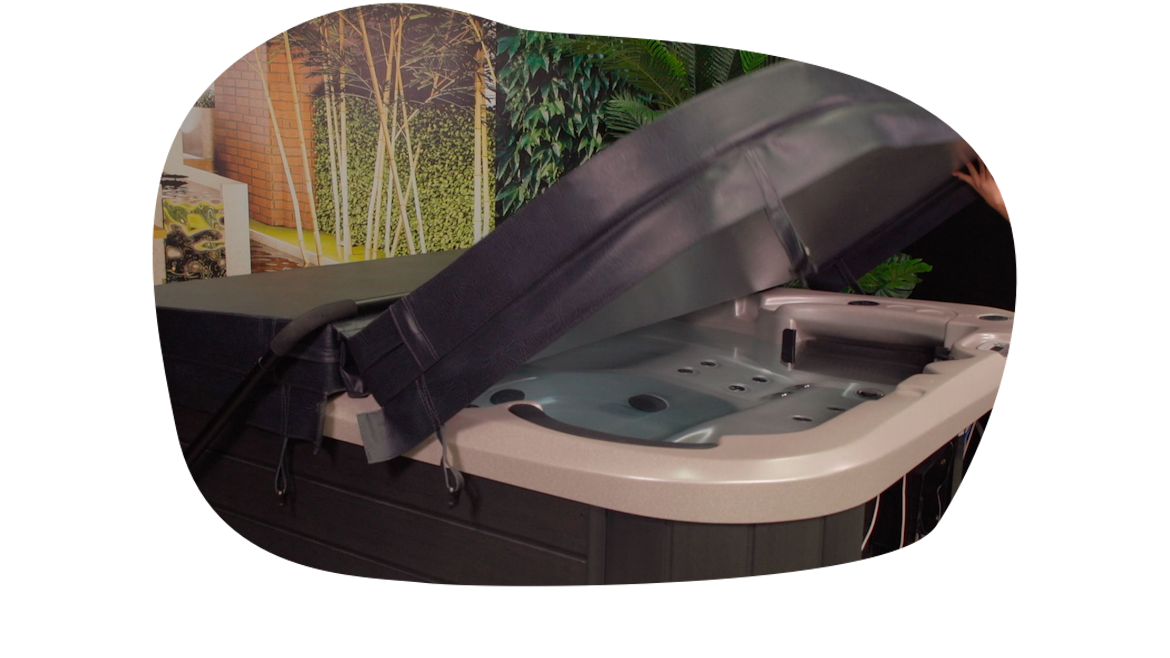
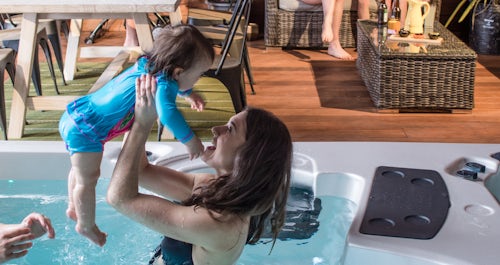
Please note that this article is intended for people who have purchased a Vortex Spa™. Other brands may have a similar or entirely different process to secure spa cover locks, so consult with your sales consultant or a spa expert before you start.

Watch: How to attach spa cover locks – step-by-step instructions

Back to top

Benefits of a spa cover

Before we start, you may be wondering “why do I need a spa cover?” Whether your spa sits inground or above ground, there are specific safety regulations that a spa owner needs to follow. One is ensuring the spa is protected by a lockable cover when not in use. While it may sound like a hassle to cover and uncover your spa every time you want to take a dip, using a secure spa cover provides many benefits that can make your spa experience even better.

  1. Ensure safety around water. If you have kids, a spa cover will ensure your kids or pets won’t be able to access the spa without you. This will prevent them from accidentally falling into the water.
  2. Insulation and energy-efficiency. A spa cover also helps maintain water temperature by acting as additional insulation. With a spa cover, you can save on heating costs, as your spa heater won’t need to work as hard to keep the water at a set temperature.
  3. Protection against environmental factors. Over time, your spa could be exposed to the elements like harsh sunlight, rain, snow, or strong winds. Could damage your spa. This may not be covered under warranty. A spa cover can help prolong the life of your spa and protect it from harsh conditions.

All in all, the spa cover keeps your spa in excellent condition.

Is a cover lifter for Vortex Spas™ worth it?

A spa cover comes with any Vortex Spa™ you purchase, but a cover lifter is something that needs to be bought separately. We highly recommend getting this spa accessory, because it’s one of the best tools you can get for your spa and makes getting in and out of your spa so much easier.

In our experience, customers often use their spas more often once they have cover lifters because of the ease of use.

A spa cover lifter extends the life of your spa cover and saves you money in repairs or replacements.

For example, it can help protect the cover from damage caused by dropping the cover on the ground.

Back to top

What tools do I use to attach cover locks to Vortex Spas™?

Before attaching your spa cover locks, make sure you have the necessary tools to help you with the process.

Here’s what you need to secure your spa cover locks:

  • Electric drill with “Phillips head or tip”
  • Pen or pencil
  • 2 mm drill bit
  • 4 Cover locks (provided)
  • 12 screws (provided)**

Some of these tools may already be part of your toolkit, but if you don’t have them yet, we suggest getting them before your spa arrives. This way, you can fasten your spa cover locks as soon as you can to keep your spa protected right when it arrives.

Back to top

How to attach cover locks to Vortex Spas™

Once you have your tools ready, it’s time to get started. Before you start the assembly process, be sure to:

  • Place your cover back over the spa. You will notice that your spa comes with four pre-installed cover locks at each corner while the center latches don’t have cover locks yet. When you place your spa cover, the corner latches should align with the pre-installed cover locks so you know you have the correct position.

  • Next, click the four corner cover locks into place. This will secure your spa cover while you work so you can correctly position the remaining cover locks.

Important note, to ensure that your spa cover is safety compliant in many jurisdictions, the cover locks need to be fitted so that the spa cover cannot be lifted more than 100mm on any side. This will ensure that when the cover is closed and latched into place, no object greater than 100mm can fit between the lip of the spa and the cover. With this, you’re ready to begin. Follow these steps to secure the spa cover of your new Vortex Spa™.

Step 1: Attach the cover lock to the latch

The first step of the assembly process is to learn the correct position for your spa cover lock. To do this, get your cover lock and hook it to the latch. Then pull the strap taught, loosen it slightly, just enough so the strap won’t be too tight when you latch the cover closed.

Step 2: Pre-mark the position of the cover lock when closed

Once you have your cover lock in the right position, use your pen or pencil to put a slight line on one side of the latch as well as the bottom. This will help you mark your place.

Step 3: Unclip the latch

After marking the position of your cover lock, you can remove your hand and unclip the latch from the cover lock.

Step 4: Line up the cover lock with the previously marked lines

Move the strap out of the way and line up the cover lock over the lines you just made. Keep your cover lock in this position as you move to the next step.

Step 5: Mark the holes for drilling

When you check your spa cover lock, you will notice that there are three holes–two at each side, and one at the top. These holes are where the screws need to go. Use the tip of a pen or a pencil to mark through these holes so you can see exactly where you need to drill.

Step 6: Pre-drill holes

Once you’re done marking, remove the cover lock and you’ll see the three dots. Using your electric drill, pre-drill a slight hole over the marks. Be sure to not drill too deep to avoid damaging your spa cabinet. If you need a reference, check the length of the provided screws and try to drill only about the same length.

Step 7: Align and screw in the cover lock using the provided screws

Next, align your spa cover lock back in position and screw in through the holes you just made. Be sure to check that the screws have been screwed in tightly to keep your cover lock secure.

Step 8: Test the latch and repeat steps 1 to 7 to the remaining cover locks

Finally, you’re ready to test out your latch. Attach the cover lock to the latch and check that it’s securely in place. Once you’re satisfied, you can now repeat steps 1 to 7 for the remaining cover locks.

Back to top

In summary

Spa cover locks are an important safety feature that prevents the spa from being accessed by children or pets as well as the cover from being blown off by strong weather.

Securing your spa cover with cover locks can also make it safety-compliant in many jurisdictions. Follow the steps outlined above so you can enjoy your spa safely and securely.

Related Articles

Five Star Trust Pilot Rating

We are proud that Spa World customers have given us a Five Star Trustpilot rating.