How to fill your spa pool or swim spa with water – Step-by-step instructions

Before you can try out your new spa, there are important steps you need to take. This article explains what to do to fill your spa pool or swim spa and get it ready for use.

How to fill your spa pool or swim spa with water hero

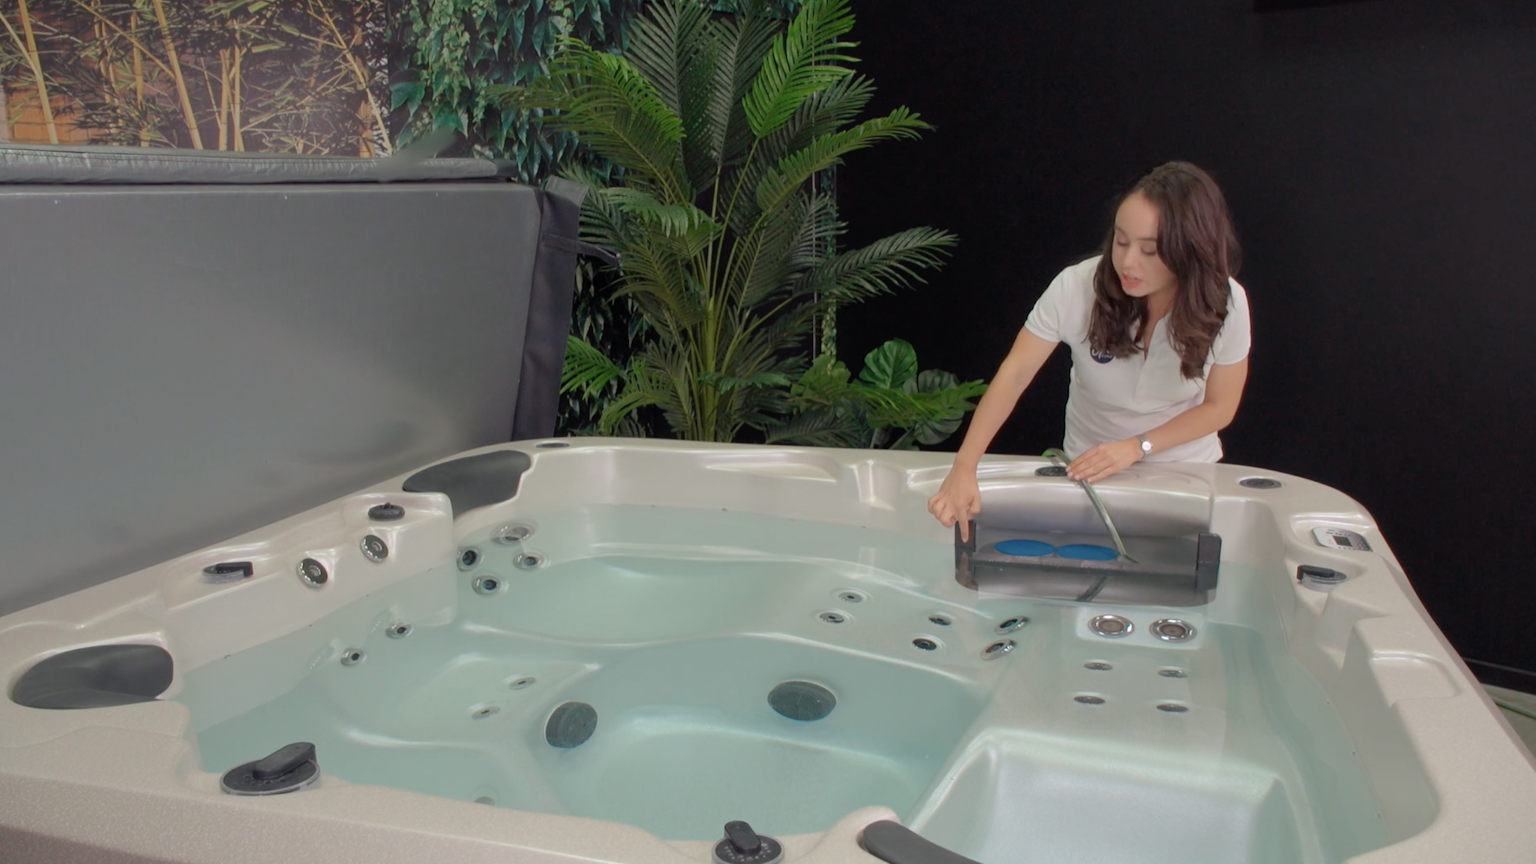
As a new spa owner, you’re probably eager to take a dip and try out the exciting features of your new spa. Before you can do that, first, you need to fill your spa with water.

Keep reading to learn what to do before filling your spa and how to fill your spa.

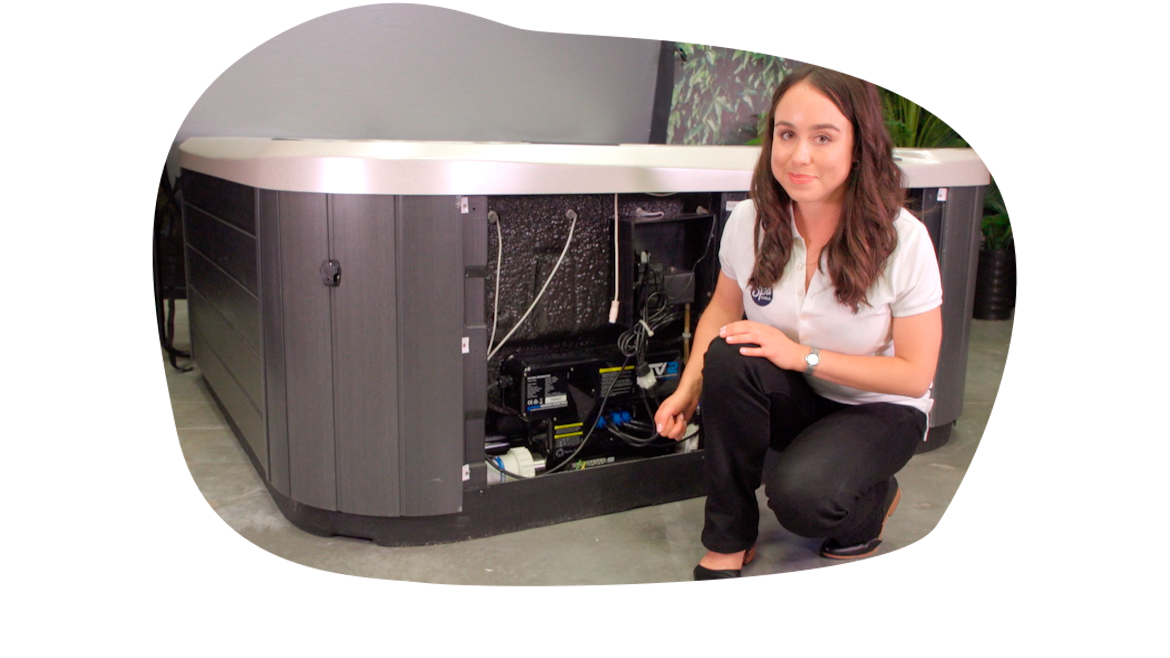
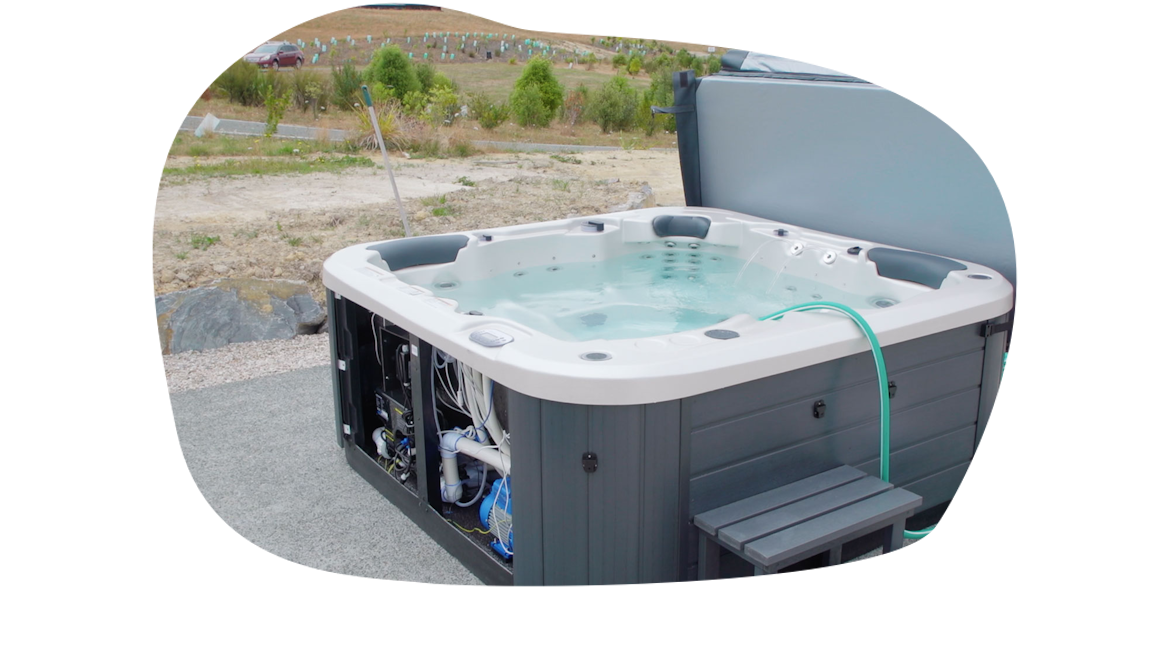
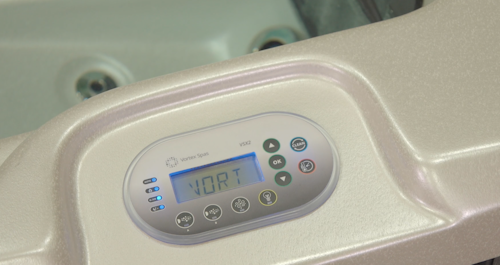
Please note: This article is intended for people who have purchased a Vortex™ Spa or Swim Spa. Other brands may require different steps in preparing the spa and filling it with water.

Watch: What to know before you fill your spa with water

What to do before filling your spa pool or swim spa

We’re excited for you to try out your new Vortex Spa™, but before you can start filling your spa with water there are a couple of checks and installation steps you need to complete.

Here you’ll find some things you need to do before adding water to your spa to ensure that your spa is in excellent condition and safe to fill.

Ensure the spa is in its final resting area

Before doing any other step recommended in this guide, ensure that your spa is in its final resting area. Once you fill your spa with water, it will be too heavy to relocate elsewhere.

You can, of course, drain all the water and then move the spa. However, doing so will require more planning and preparation, not to mention manpower. Without adequate tools and support, your spa can also get damaged if you move it haphazardly.

For convenience and to avoid damaging your spa, it’s best to lay the spa on its final foundation before filling it.

Install cover lifter

Another important step to do before you start the process of filling your spa is installing a cover lifter.

A cover lifter or cover caddy is a helpful accessory that makes it easier to take the cover on and off your spa, protects it from damage, and minimises the time your cover spends on the ground.

Many types of cover lifters need to be mounted underneath the spa so it’s crucial to get this done before you start the filling process.

Be sure to check the cover lifter instructions with your purchase for a complete guide on assembling and installing your cover lifter.

Quick note: Spa cover lifters with conductive metals greater than 100mm in any dimension and installed within arm's reach of the spa pool require equipotential bonding as per the Wiring Rules or the Australian and New Zealand Standards (AS/NZS 3000: 2018 Electrical Installations).

Equipotential bonding work must be carried out by a licensed electrician.

Install a CPR sign

Safety in water is an important consideration for new spa owners. Depending on your location, certain safety requirements may need to be followed.

Installing a cardiopulmonary resuscitation (CPR) sign and a cautionary spa pool safety rule sign is required in some regions.

Spa World recommends putting up these signs where they can be viewed clearly from your spa even if your local council doesn’t strictly require it. Doing so can potentially save money and save lives down the line.

Check the barrel union

What is a barrel union? The barrel union is a type of threaded fitting within the spa’s pipework and connects the spa plumbing to different components such as the pumps, controller, or heater.

During delivery, the barrel union, jets, and valves may have been loosened. Filling your spa without ensuring these parts are tightened may cause an error during the filling process or damage your spa’s internal components.

**Here’s how you can check your barrel union:

Remove the equipment bay cabinet panel.

Before performing the following steps on how to remove the cabinet panel, please keep these reminders in mind.

  • The cabinet panel is often on the electronic keypad side of the spa, but please check your specification sheet to be sure.
  • The cabinet panel can be awkward to handle alone.
  • Spa World recommends having two people do this step to ensure you don’t pinch your fingers or toes during the process. Having more hands can also help protect the cabinet panel from slipping and falling off haphazardly.

Let's now proceed with the steps below.

  • Start by locating the screws on the panel. There are 9 screws which are located on the corners as well as in the middle of the panel.
  • Remove the screws. Use an electric drill with a Philips number two drill bit to remove all nine (9) screws.
  • Disconnect all cables from the cabinet. Once the cabinet panel is removed, you will find several cables connecting the panel to the spa. Disconnect them one by one before removing the cabinet from the spa.
  • Set aside the cabinet panel. At this point, you can set aside the cabinet panel to keep it out of the way. Place it on one side and position it vertically to avoid scratching the surface.

Check that the barrel unions are tightened.

Now that you have access to the equipment bay, it’s time to locate the barrel unions. The equipment bay layout may differ for each model, so check your spa’s specification sheet for a guide.

The barrel unions only need to be hand tight, so no tightening tool is necessary. Just give each one a little twist to make sure it doesn’t give.

Your delivery team may do these checks at the time of delivery. However, it’s still crucial for you to learn how to check these components.

Vibrations inside the spa may loosen the barrel unions once your spa starts running. We recommend a periodic check of the barrel union or every time you drain and refill your spa.

Check that all T-handled gate valves are pulled UP in the open position.

Aside from the barrel union, you also need to check that all T-handled gate valves, such as the isolation valve, are pulled up. T-handled gate valves are easy to spot because they have T-shaped handles.

The isolation valve may also be located next to the barrel unions in certain models. Again, please check your specification sheet for the exact location of these components.

The isolation valve has to be pulled up at all times unless you need to isolate components such as the UV lamp or the pumps.

What tools do you need to fill your spa with water?

You can use a regular garden hose to add water to your spa. Please remove any nozzles attached to the hose before using them to fill your spa. You want to avoid any debris that may come loose during the filling process because it may fall into the inlet and get stuck in the plumbing.

Watch: How to Fill Spa with Water

Have you completed the necessary checks and installation steps we outlined above? Then, you’re ready to fill your spa with water!

Please note that the cabinet panel should remain off during this entire procedure. You will need to access the equipment bay in the rare event that a leak or pump airlock occurs.

Do not turn the spa power on until the spa is filled with water. Follow these steps to begin the filling process.

Step 1: Check for loose objects

If your spa is uncovered, there may have been loose objects such as leaves or sand on your spa shell. In this case, remove them and any other debris that can contaminate your spa water.

Step 2: Remove filters

Every Vortex Spa™ comes with either 3 or 6 filters except for Vortex Gemini™, which only comes with one. Typically, these filters are housed in either 1 or 2 filter housings.

Take each filter out of the housing. Once you remove the filters, you will find a filter inlet pipe underneath each cartridge.

For Vortex Gemini™ users, your spa has a different filtration system and does not use filter cartridges. Instead, you may find a single skimmer filter where you can find the water inlet.

Step 3: Insert the hose down the filter lines

Insert the garden hose for at least five minutes down each inlet. As a guide, the hose should be inserted around 150 to 200 mm inside the water inlet. If your spa uses Purezone™ filtration, you can see a PZ mark on the back of the filter housing cover. This is where you need to run your water after each inlet has been sufficiently hosed down.

Important note: Do not throw the hose straight into the foot well to fill your spa.

Doing so can cause an airlock or air bubble inside your spa pump, stopping the pump from pumping water as it should. An airlock can lead to an Error 3 or 4 when you apply power to the spa.

If one of these error messages occurs, you will need to do a bit of troubleshooting. Check the button below for a complete guide on correcting these error messages.

Step 4: Fill spa up to the fill line

Turn the water on and fill your spa up to the water fill line. This will ensure that your spa has the correct volume of water. Please avoid underfilling or overfilling your spa to ensure that the filters are properly submerged and working as they should.

Step 5: Turn off water supply

Once your spa has reached the correct volume, turn off the tap and remove the hose from the inlet.

Step 6: Reinstall the filter back over the filter inlet

Place the filter in water until it is fully submerged. Give it a slight rotation to allow the water to soak into the filter. Wait until bubbles stop forming before placing it back into the housing.

Twist clockwise until the filter is tightly installed.

Step 7: Turn on the spa and heat up to your desired temperature

Vortex water fill line

What water level should I fill my spa to?

Every Vortex Spa™ has a water fill line indicator that tells you exactly where to fill your spa. Check your specification sheet for the location of the water fill line.

If your spa comes with a skimmer, the water should be at least 50mm above the skimmer at all times. Never allow the water level to drop below the bottom of the skimmer opening.

If this happens, the skimmer will allow air into the water lines of the pump and cause it to lose its prime or water flow. This can lead to damage to the pump seal assembly and more issues within the equipment bay which will not be covered by the product warranty.

Vortex Gemini spa single skimmer filter

How long does it take to fill a spa with water?

On average, it takes 1 to 2 hours to fill a spa. However, it can go shorter or longer depending on several factors such as water pressure, spa size, and hose size.

We recommend setting a timer to keep your eye on the water level as your spa gets filled to avoid overfilling.

What filters are used in Vortex Spas™?

Vortex Spas™ come with two pleated filters, which can track particles down to 20 microns, and one Purezone™, which has a honeycomb shape and can track up to 5 microns.

Quick note: To make it easier for you to visualise, the thickness of human hair is around 70 microns, while the naked eye's visibility limits our view to 45 microns. Our red blood cells have a size of about 7 microns, so Vortex Spa™ filters deal with really small particles.

How to care for spa filters

The pleated filter cartridges are trouble-free and easy to clean. To maximise their potential, it’s best to practice routine cleaning.

They will need to be hosed down once a week using a water hose with a pressure nozzle. Once a month, soak the filters in filter cartridge cleaning solution for a minimum of 30 minutes (or as directed by the cleaning solution’s instructions), then hose them down with a pressure nozzle.

If you use your spa often, the filter cartridges may need to be soaked in cleaning solution more frequently.

Purezone™ micro filters do not require cleaning. They will, however, need to be replaced every 3 to 4 months or as required depending on how much you use your spa.

If your spa is fitted with Purezone™ micro filters, please avoid using spa shock chemicals in your spa water. Purezone™ micro filter is a solid media designed to filter down to a smaller micron. The shock chemicals will damage the media and significantly shorten the filter's life.

We suggest sticking to spa sanitiser and pH balancers.

What to do after filling your spa with water

Now that you have finished filling your spa with water, you might be itching to climb in and take your first dip in your spa pool or swim spa. But we’re not done yet! The next step is to test and balance your water. To do this, check out the water maintenance and chemical guide we prepared for you using the button below.

How do I drain my spa pool?

Emptying and refilling your spa with clean water gives you the best of both worlds, a fresh tub of water to soak in and it keeps your spa and components in great working order.

Click the button below to read our step-by-step guide for how to drain and refill your spa pool or swim spa.

In Summary

As a new spa owner, filling your spa for the first time can be an exciting prospect. Before you can proceed, however, important checks and installation steps must be completed to ensure your safety.

Here’s a quick outline of what you need to do before filling your spa with water: Make sure that the spa is in its final resting area

  • Install cover lifter
  • Install safety and warning signs
  • Check barrel unions
  • Check isolation valve

Once these steps are completed, you’re ready to start filling your spa. Here’s how:

  1. Check for loose objects
  2. Remove filters
  3. Insert the hose down the filter lines
  4. Fill spa up to the fill line
  5. Turn off water supply
  6. Reinstall the filter back over the filter inlet
  7. Turn on the spa and heat up to your desired temperature
  8. Once your spa is filled, you can move on to the next step of the start-up procedure, water care.

Related Articles

Five Star Trust Pilot Rating

We are proud that Spa World customers have given us a Five Star Trustpilot rating.