How to install a Jacuzzi® ProLift™ Hydraulic Cover Lifter

Installing the Jacuzzi ProLift hydraulic cover lifter is easy with this step-by-step guide. Follow these straightforward instructions for a simple, hassle-free installation process.

jacuzzi prolift hydraulic cover lifter

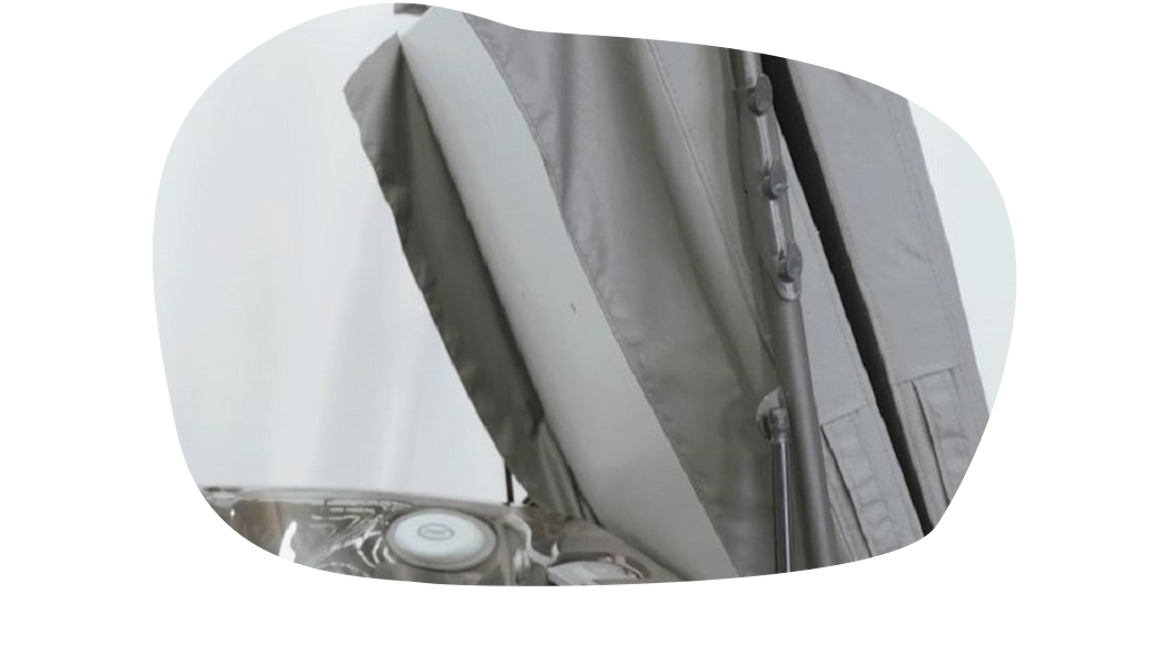
Installing the Jacuzzi® ProLift™ Hydraulic Cover Lifter is a straightforward process when done correctly. This guide breaks it down into clear, step-by-step instructions to help you achieve a secure and durable installation. Follow these instructions for a smooth setup and enjoy the convenience of your spa cover lifter in no time.

Key Takeaways

  • Compatibility with Spa Models. The Jacuzzi® ProLift™ Hydraulic Cover Lifter is designed for J-300™, J-400™, J-500™ Series, J-LXL™, and J-LX™ spa models
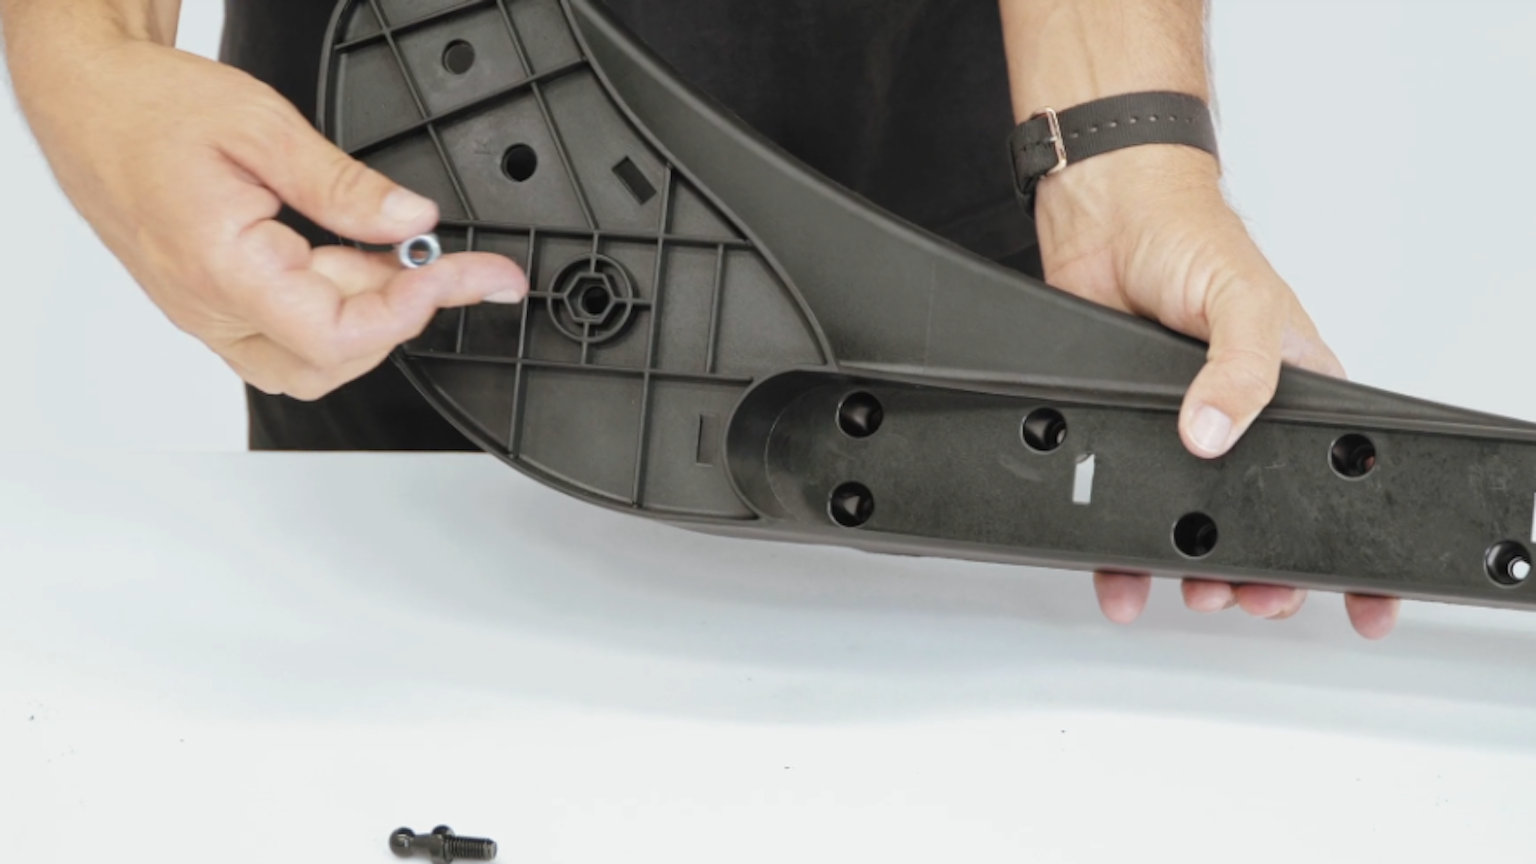
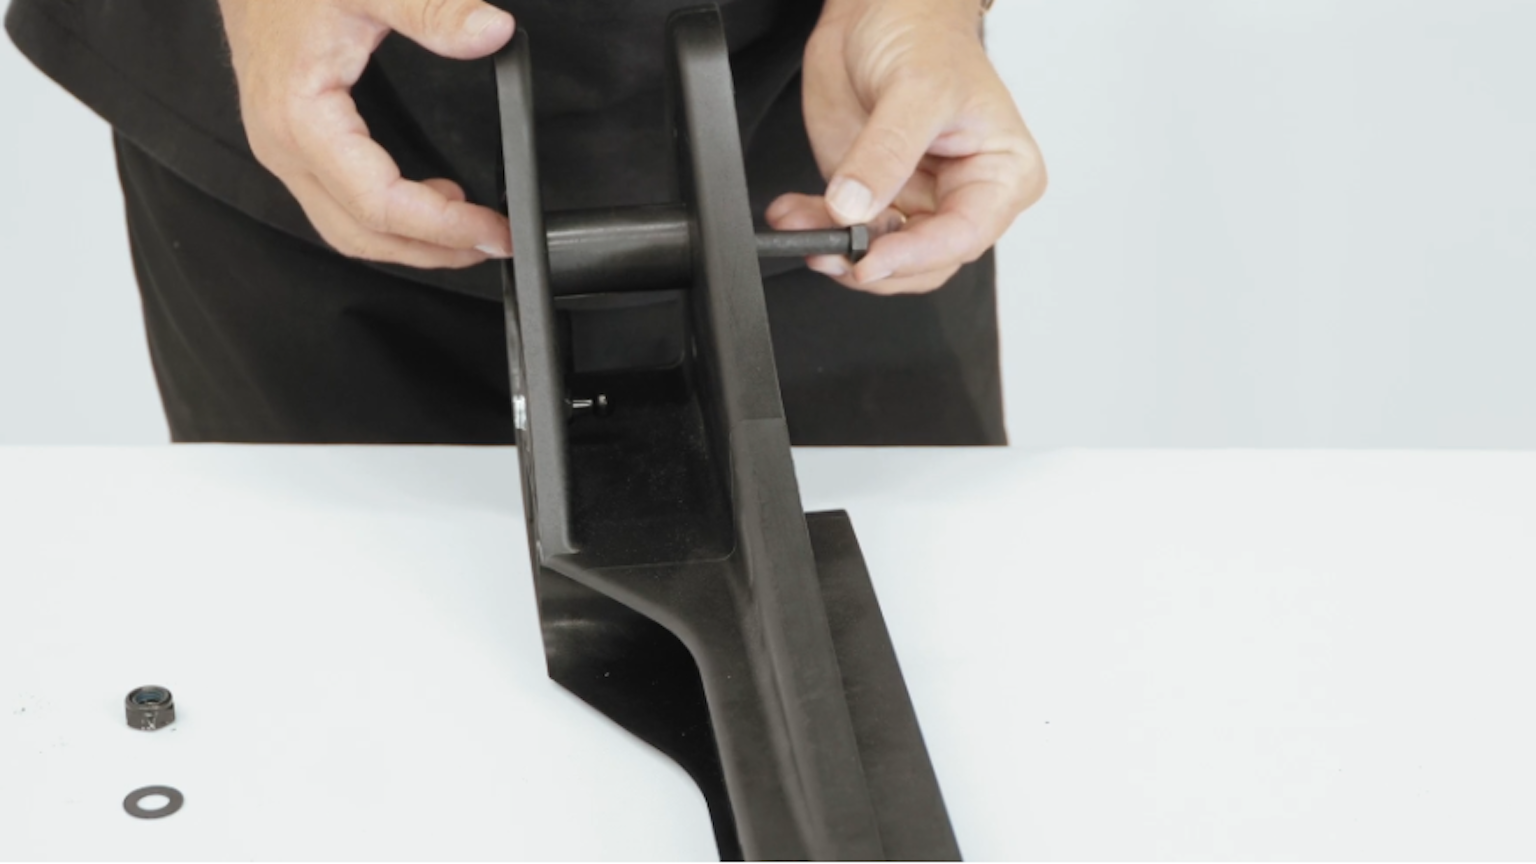
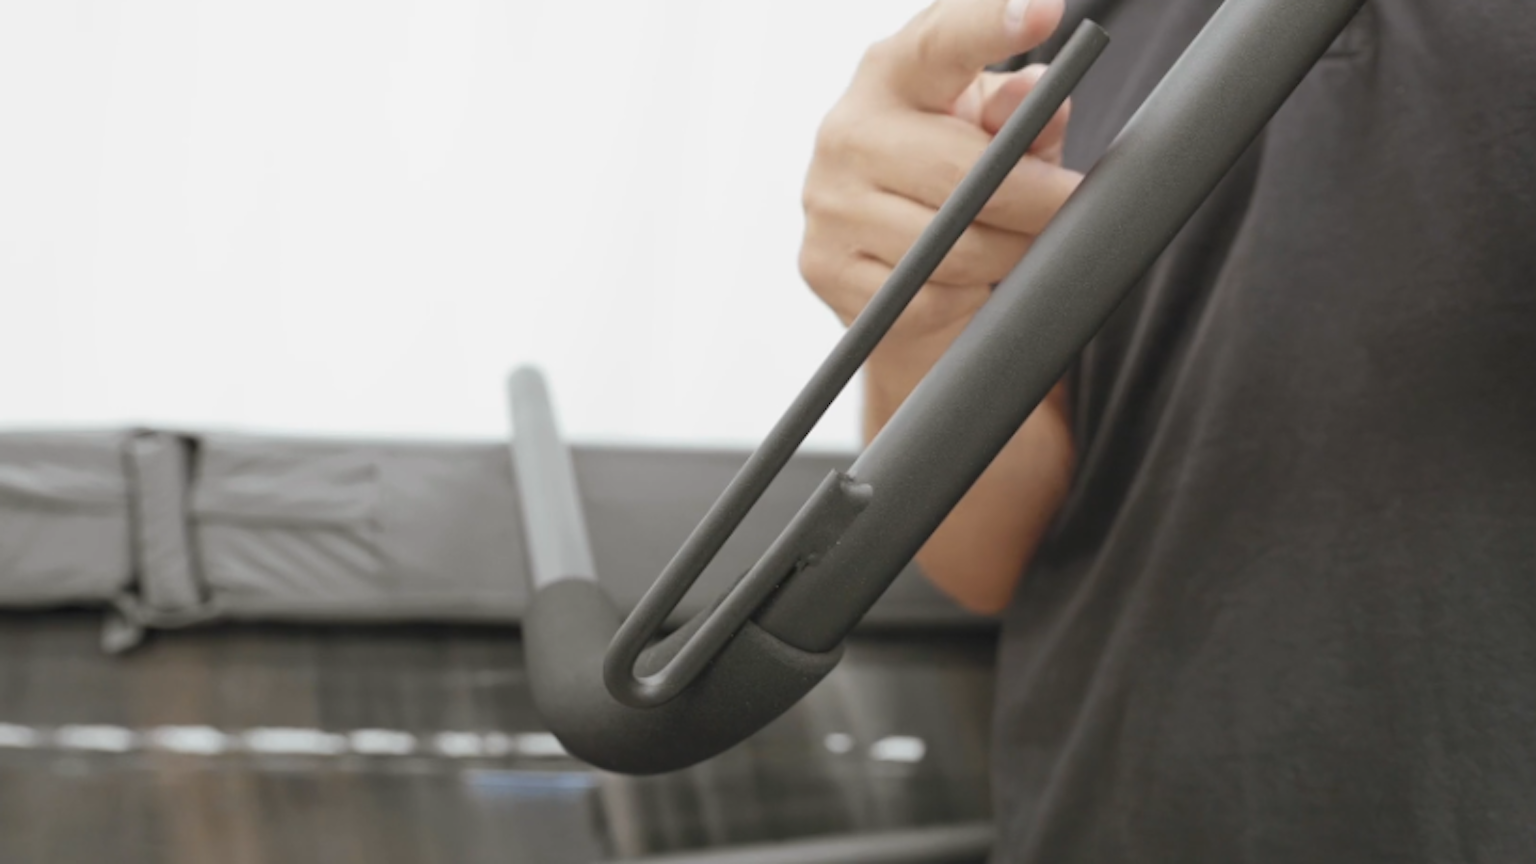
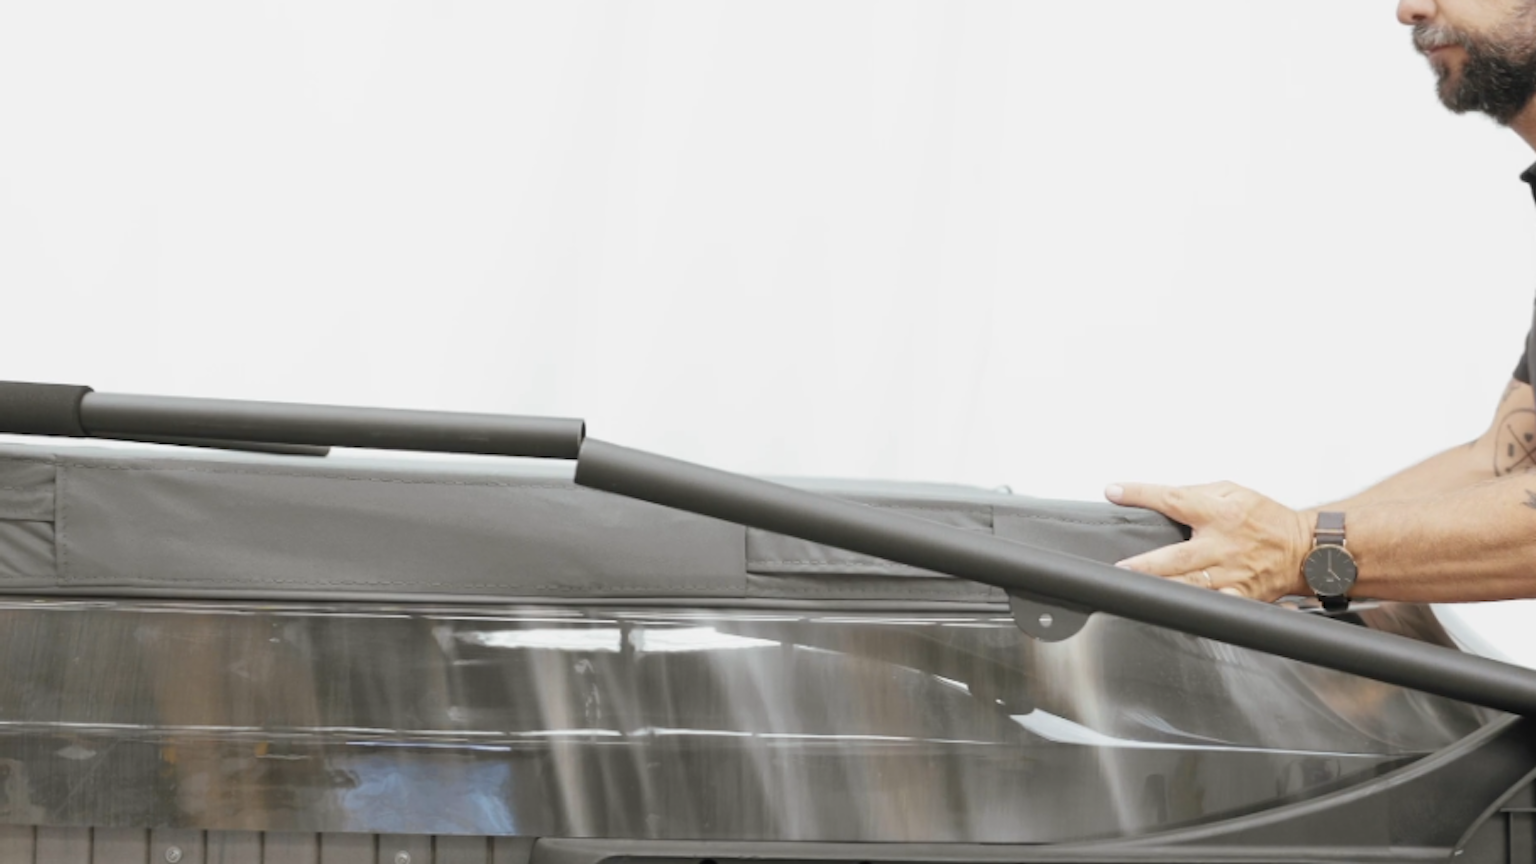
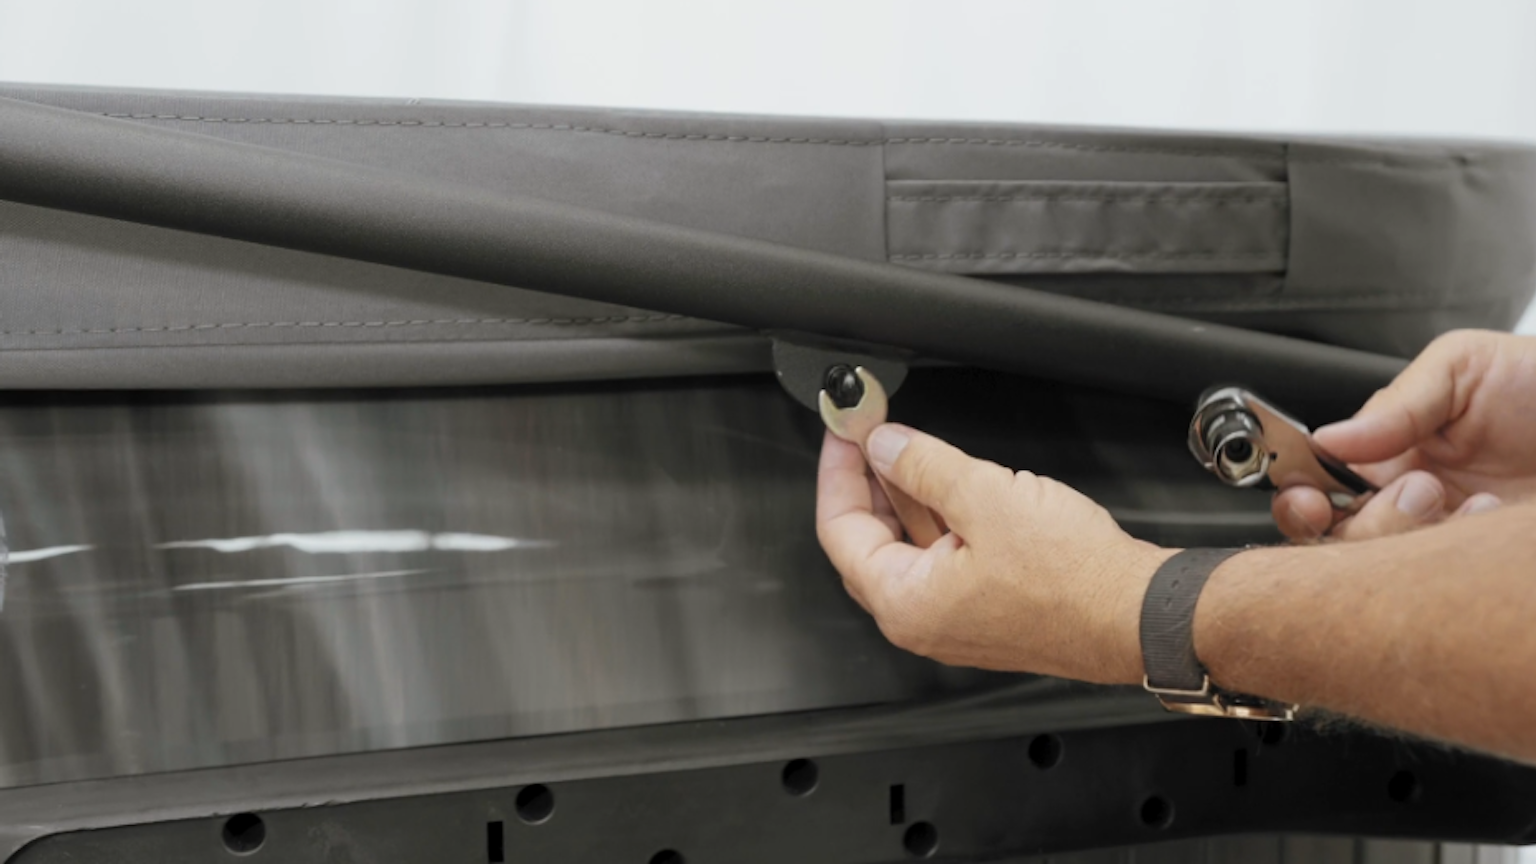
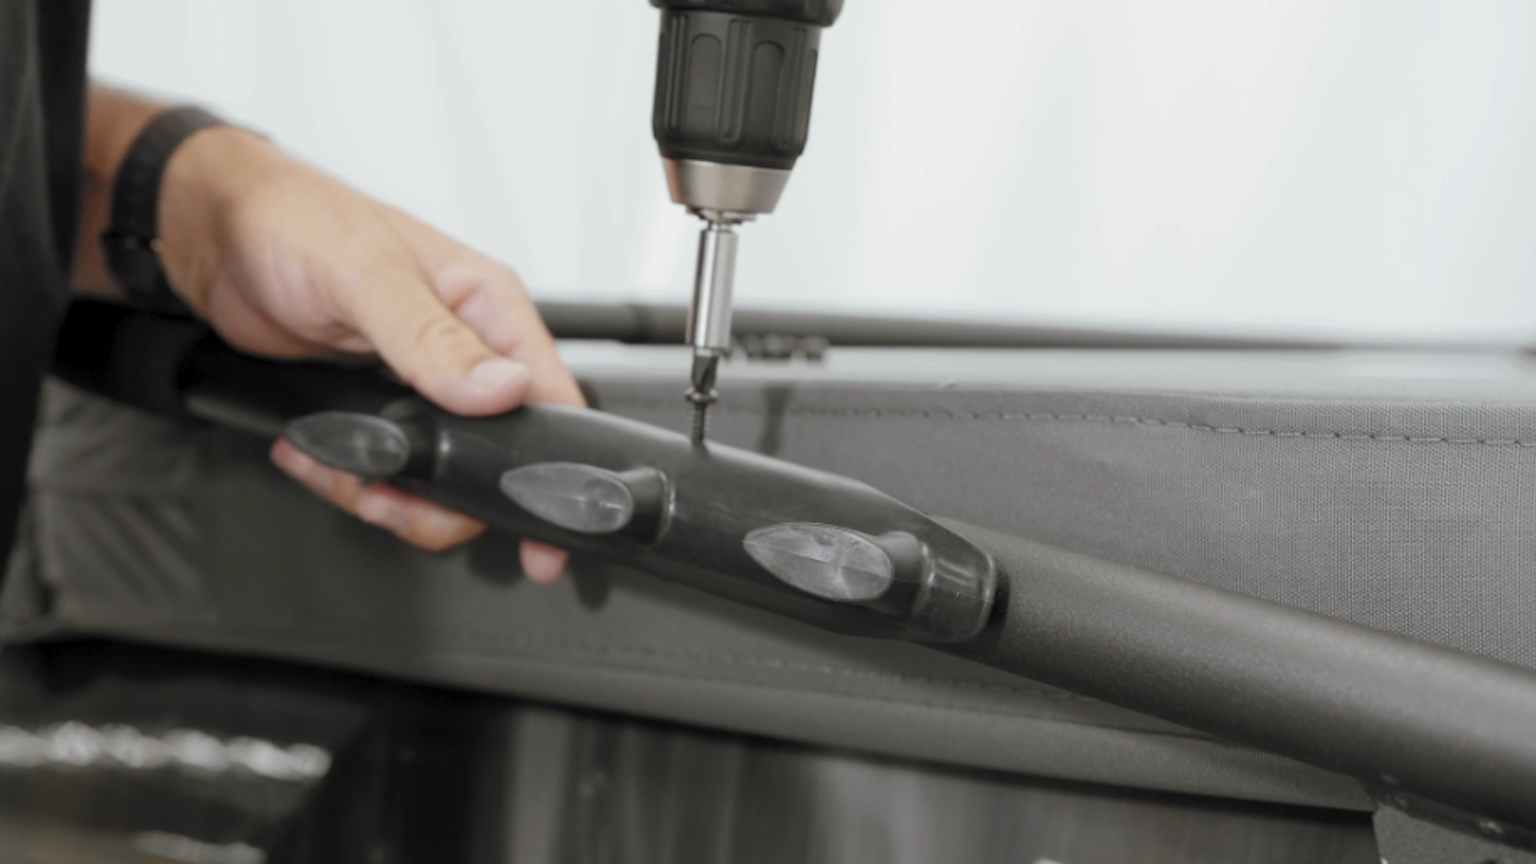
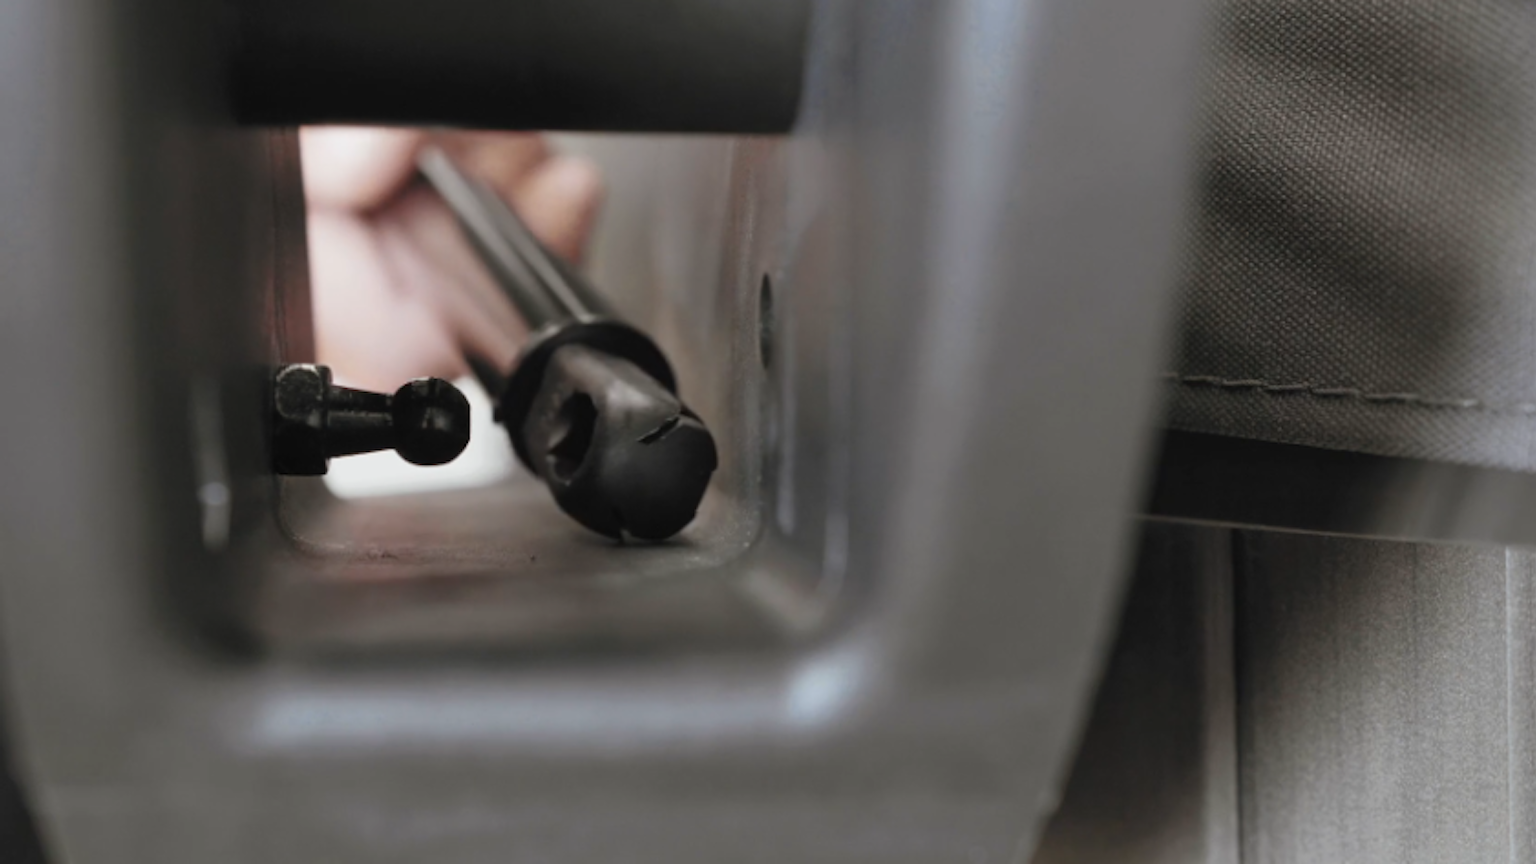
  • Complete Parts Checklist. The installation kit includes everything you need, such as mounting brackets, support arms, gas hydraulic shocks, self-tapping screws, and cover plates.
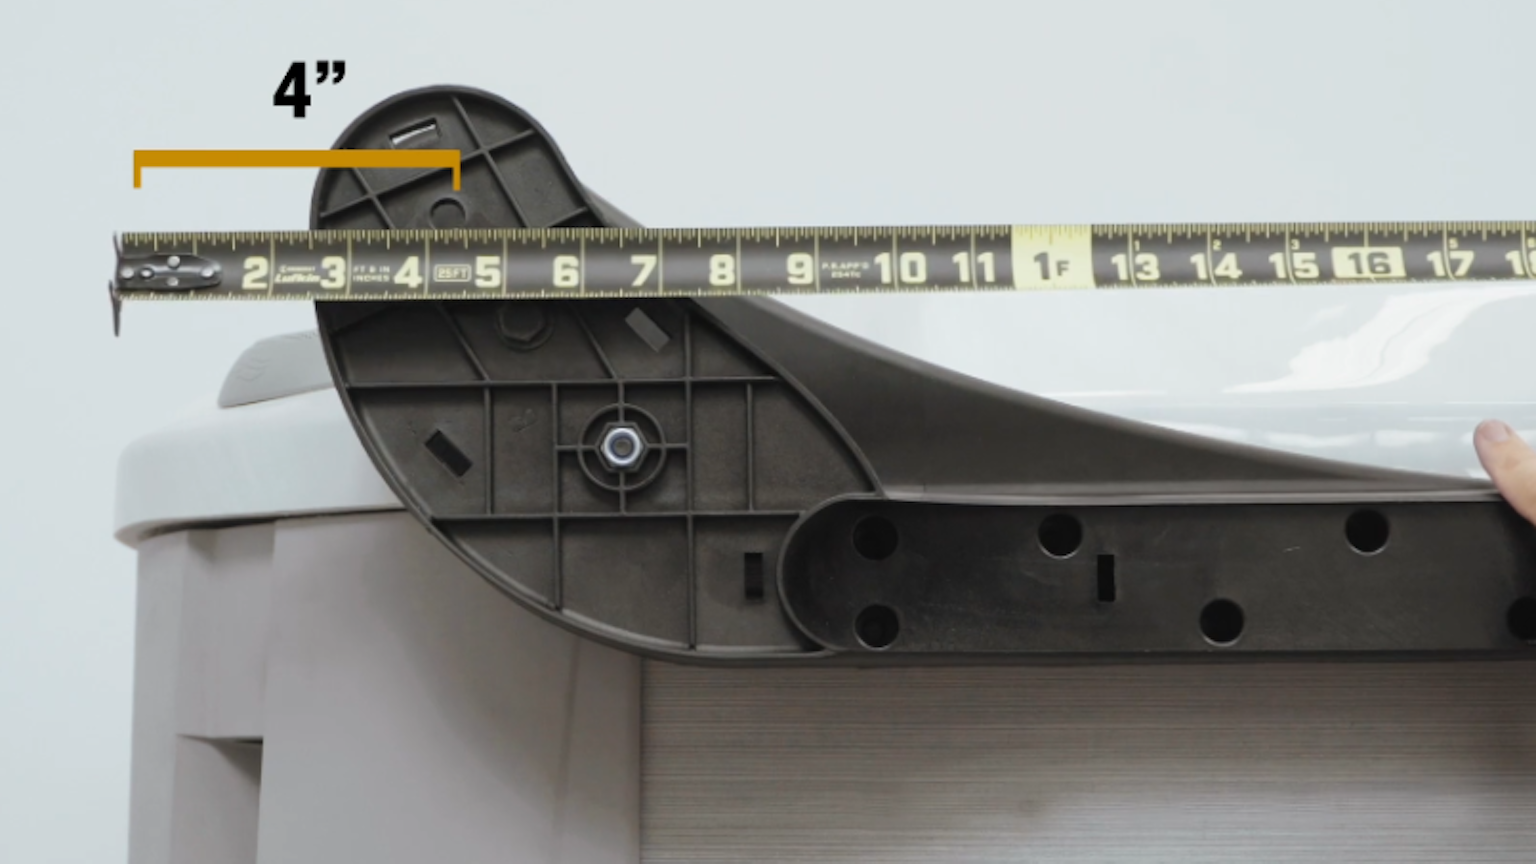
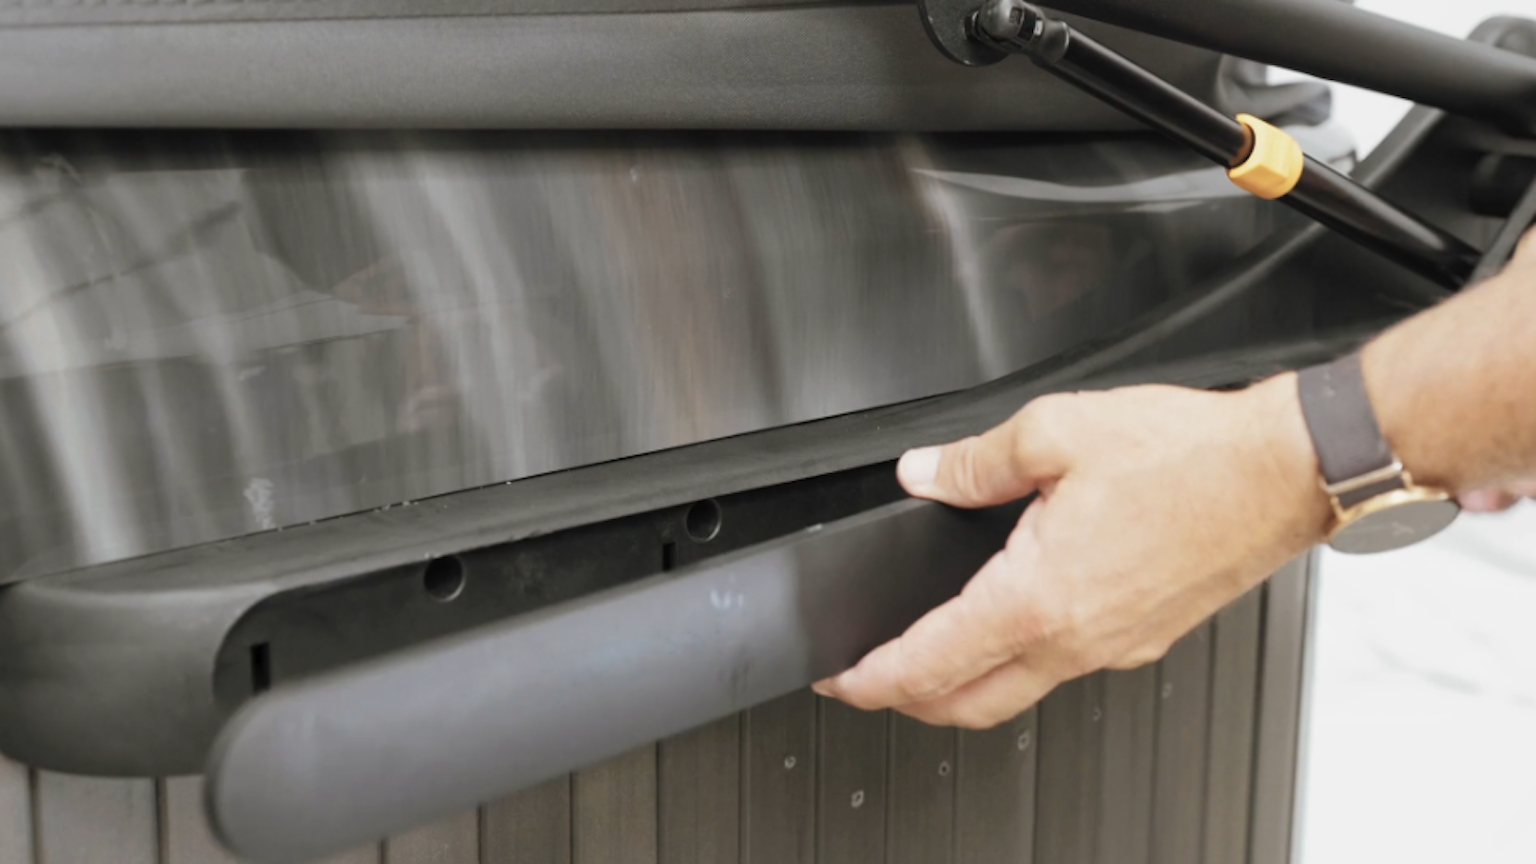
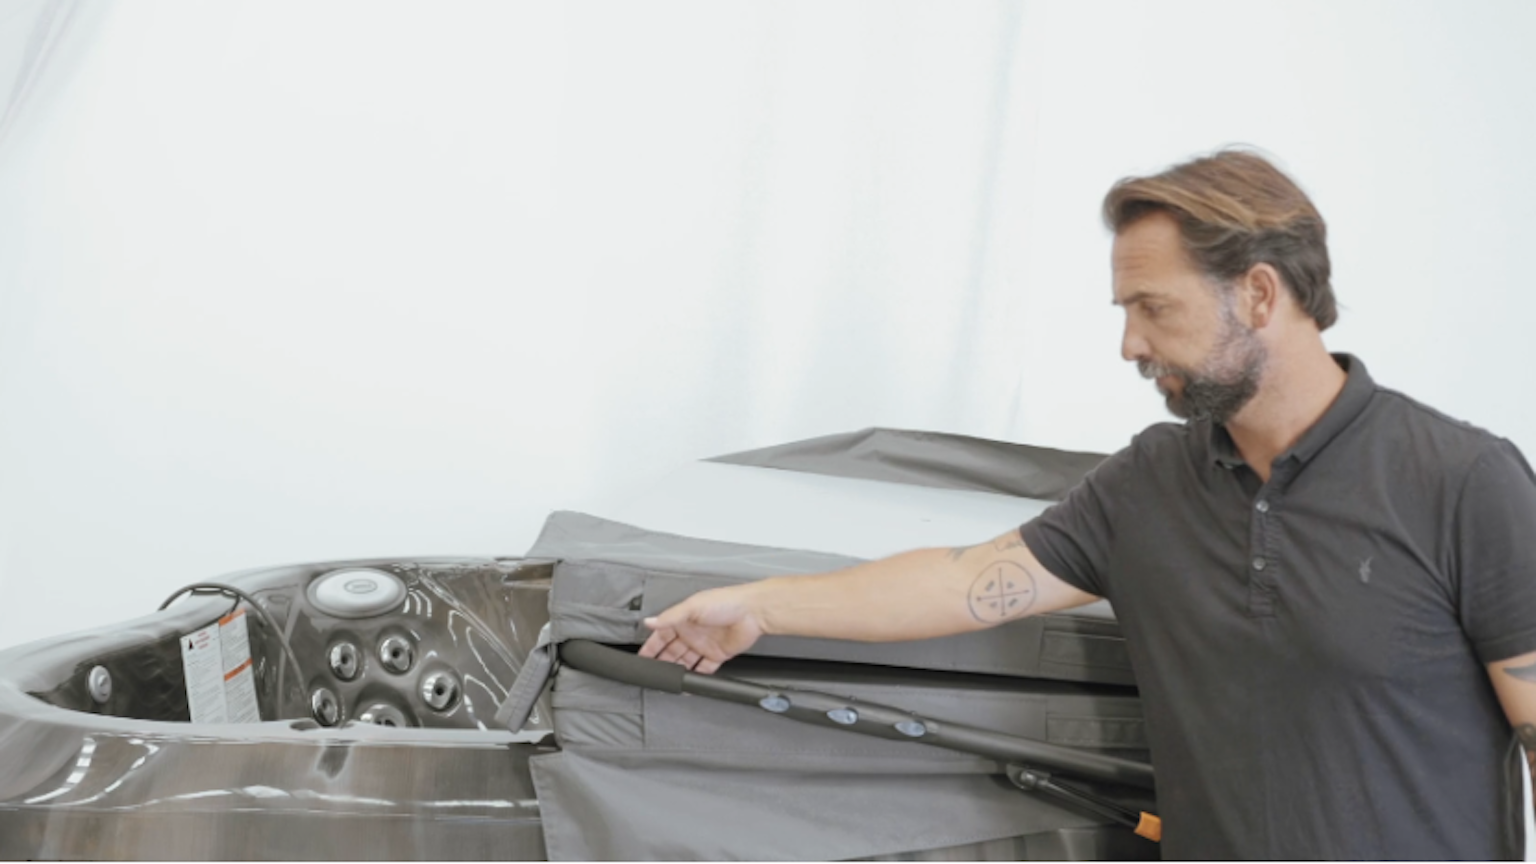
  • Simple Installation. Follow the 10-step process for secure and proper setup.
  • Effortless Operation. The hydraulic system ensures smooth cover lifting and closing.

What spa models are compatible with Jacuzzi® ProLift™ Hydraulic Cover Lifter?

The Jacuzzi® ProLift™ Hydraulic Cover Lifter is compatible with J-300™ and J-500™ Series, J-LXL™, and J-LX™ Jacuzzi® Spa models.

Important reminders when using Jacuzzi® ProLift™ Hydraulic Cover Lifter:

Watch: How to install the Jacuzzi® ProLift™ Hydraulic Spa Cover Lifter

What parts come with the Jacuzzi® ProLift™ Hydraulic Cover Lifter?

Before you begin, take a quick moment to identify all the parts provided in your kit. Ensure that you have the following components:

prolift hydraulic parts
  • 1 x Left Mounting Bracket
  • 1 x Right Mounting Bracket
  • 1 x Left Side Long Cover Cap
  • 1x Right Side Long Cover Cap
  • 2x Logo Cap
  • 1x Left Kidney Bean Cover Plate
  • 1 x Right Kidney Bean Cover Plate
  • 1x Towel Rack Holder
  • 2 x Gas Hydraulic Shock
  • 2 x Support Arm With Foam Grips
  • 2 x Pivot Arm
  • 1 x Center Coupler
  • 4 x 3/8 X 2-3/4" HEX CAP BOLT
  • 4 x 3/8 NYLON LOCKNUT
  • 4 x 3/8 FLAT WASHER
  • 12x #10 X 5/8" SELF-TAPPING SCREWS
  • 24 x #12 X 2" MOUNTING SCREWS
  • 4 x 5/16 BALL STUD
  • 4 x 5/16 NYLONLOCKNUT
  • 2 x HEX PLASTIC DOME CAP

Once verified, you’re ready to proceed with the installation.

Jacuzzi® ProLift™ Hydraulic Cover Lifter | Step-by-Step Installation Guide

Ready to set up your Jacuzzi® ProLift™ Hydraulic Cover Lifter? Follow the easy step-by-step guide below to get started!

Step 1: Install the Ball Studs on the Mounting Brackets

prolift hydraulic ball studs
  • Locate the left mounting bracket.
  • Install a ball stud on the bracket, ensuring it faces towards the spa.
  • Repeat this process for the right mounting bracket.

Step 2: Install the Round Plastic Stops

prolift hydraulic round plastic stops
  • Attach the round plastic stop onto the left mounting bracket.
  • Lightly tighten the plastic stop but avoid over-tightening, as it can cause the plastic to bend out of shape.
  • Repeat for the right mounting bracket.

Step 3: Position and Attach the Mounting Brackets

prolift hydraulic mounting brackets
  • Measure 4 inches from the back of the spa pool and position the mounting brackets just below the acrylic shell.
  • Use the pivot armhole to confirm the placement of the mounting brackets.
  • Secure the left and right mounting brackets to the spa pool using the provided #12x 2-inch screws.

Step 4: Attach the Support Arms and Center Coupler Tube

prolift hydraulic center coupler tube
  • Take the support arms and slide the small round tube under the hinge between the two cover halves, ensuring the horizontal part of the arm touches the underside of the cover hinge.
  • Slide the centre coupler tube over the left support arm.
  • Repeat this process for the right side of the cover.
  • Do not screw the parts together yet, as adjustments will be made in later steps.

Step 5: Connect the Pivot Arms to the Mounting Brackets

prolift hydraulic pivot arms
  • Attach the pivot arms to the mounting brackets on both sides.
  • Slide the left and right pivot arms onto the support arms. Adjust the cover as needed to ensure the tubes sleeve together correctly.

Step 6: Install the Ball Studs on the Pivot Arms

prolift hydraulic ball studs on the pivot
  • Install a ball stud on each pivot arm.
  • Make sure the ball studs are pointing away from the spa.

Step 7: Secure the Support Arms, Pivot Arms, and Center Coupler Tube

prolift hydraulic secure the support arms
  • Adjust the centre coupler tube and support arms so they are positioned about ½ inch away from the cover hinge and are centred on the spa.
  • Use the self-tapping screws to fasten:
  • The support arms to the pivot arms.
  • The centre coupler tube to the support arms.
  • Rotate the centre coupler tube so that the screw heads face the back of the spa.

Step 8: Attach the Gas Shocks

prolift hydraulic gas shocks
  • Locate the gas shocks (one locking shock indicated by an orange button, and one non-locking shock).
  • Attach the gas shocks to the ball studs on the mounting brackets first.
  • Lift the cover to the upright position and snap the gas shocks onto the ball studs on the pivot arms.
  • Place the locking shock on the side of the spa that is most convenient for opening and closing.

Step 9: Attach the Cover Plates

prolift hydraulic cover plates
  • Snap the long cover plate onto the mounting bracket.
  • Next, attach the kidney-shaped cover plate.
  • Note: The cover plates are labelled L (left) and R (right). Ensure each plate is installed on the correct side.
  • Repeat this step for the other side of the spa pool.

Step 10: Final Check and Operation

prolift hydraulic final check
  • Verify that all components are securely installed and properly aligned.
  • To operate, simply lift the spa cover. The hydraulic arms will take over, making it easy to open and close your spa pool cover effortlessly.

In Summary

By following these ten steps, you can successfully install yourJacuzzi® ProLift™ Hydraulic Cover Lifter. The hydraulic system ensures smooth and effortless lifting of the spa cover, allowing you to enjoy your spa pool with ease.

Got more questions? We’re here to help!

Related Articles

Five Star Trust Pilot Rating

We are proud that Spa World customers have given us a Five Star Trustpilot rating.